Tutorial for Forex Trading ~ Basic Functions
Tutorial for Forex Trading is one of Fintechee’s free services. We help traders learn how to trade Forex by using our WEB Trader or Expert Advisor Studio. The contents here will not be limited to the field of Forex. Any instrument of investment will be discussed.
Tutorial Video
Description
This tutorial is about the basic functions of our WEB Trader. By reading this tutorial for Forex trading, traders can learn not only the features of our WEB Trader for beginners but also how to enhance Trading Strategies to be compatible with the Forex market by using our WEB Trader’s professional features, such as Custom Indicator, Expert Advisor(trading robots).
Get Started First.
Hello everybody. Today let’s talk about some basic functions of our trading platform.
First of all, Please open our home page and then click the “WEB TRADER” button to access our demo and you will be led to our WEB Trader. This is the basis of this tutorial for Forex trading.
If you have not signed up yet, our WEB Trader will make you sign in to an account as an investor.
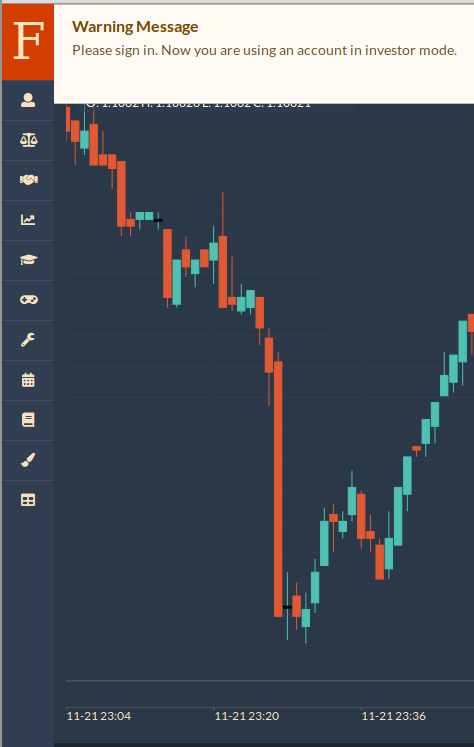
You can see this account’s trading records, but neither can you operate nor trade. Just like some other trading platforms, there are two modes to sign in. One is to sign in to your own account and the other one is to sign in to another trader’s account in the investor mode(read-only).
If this trader opens the investor password to the public, then you can sign in to this trader’s account as an investor and get a chance to refer to his trading records.
If the trader doesn’t open the investor password to the public, nobody can sign in. So, there is no security problem.
“Investor Mode” is a feature that our WEB Trader implements. For more information regarding the investor mode, please check our other tutorial for Forex trading: Investor Mode.
Sign up
If you want to trade your own funds, please click the “User” icon on the left sidebar. A panel on the right side will show up and on the top of this panel, there are two links. One is “Sign in” and the other one is “Sign up”. If you have no account yet, please click “Sign up” to request a new account.

After you finish signing up, our WEB Trader will make you log out automatically from the account that you previously logged in and sign in to the new account that you created. Your password and investor password will be generated automatically for the first time when you sign in.
In this tutorial for Forex trading, we use our demo account as a showcase to avoid taking any risk. To make the tutorial easier to understand, the process is simplified as much as possible.
In our live version, our clients who sign the contract of Forex broker white label can level up security by customizing the signing-up process. KYC and AML can be integrated with our WEB Trader. For more information regarding KYC and AML, please check our other article: Forex Broker White Label.
Sign in
Thanks to the multiple accounts management feature of our WEB Trader, you can sign in to another account simultaneously. The multiple accounts management is a unique feature different from other trading platforms. Signing in to multiple accounts at the same time will offer traders to have the opportunity to trade arbitrage. Other platforms have no this kind of function.
Let me show you how to do that. Please don’t log out and keep the current account signed in. Then click the “User” icon and then a sidebar shows up on the right. Please click the “Sign in” link on the top right of the screen.
Please enter your account ID and your password(or the account ID, the investor password of another trader) and sign in. Now you have signed in to another account, keeping the multiple accounts signed in.

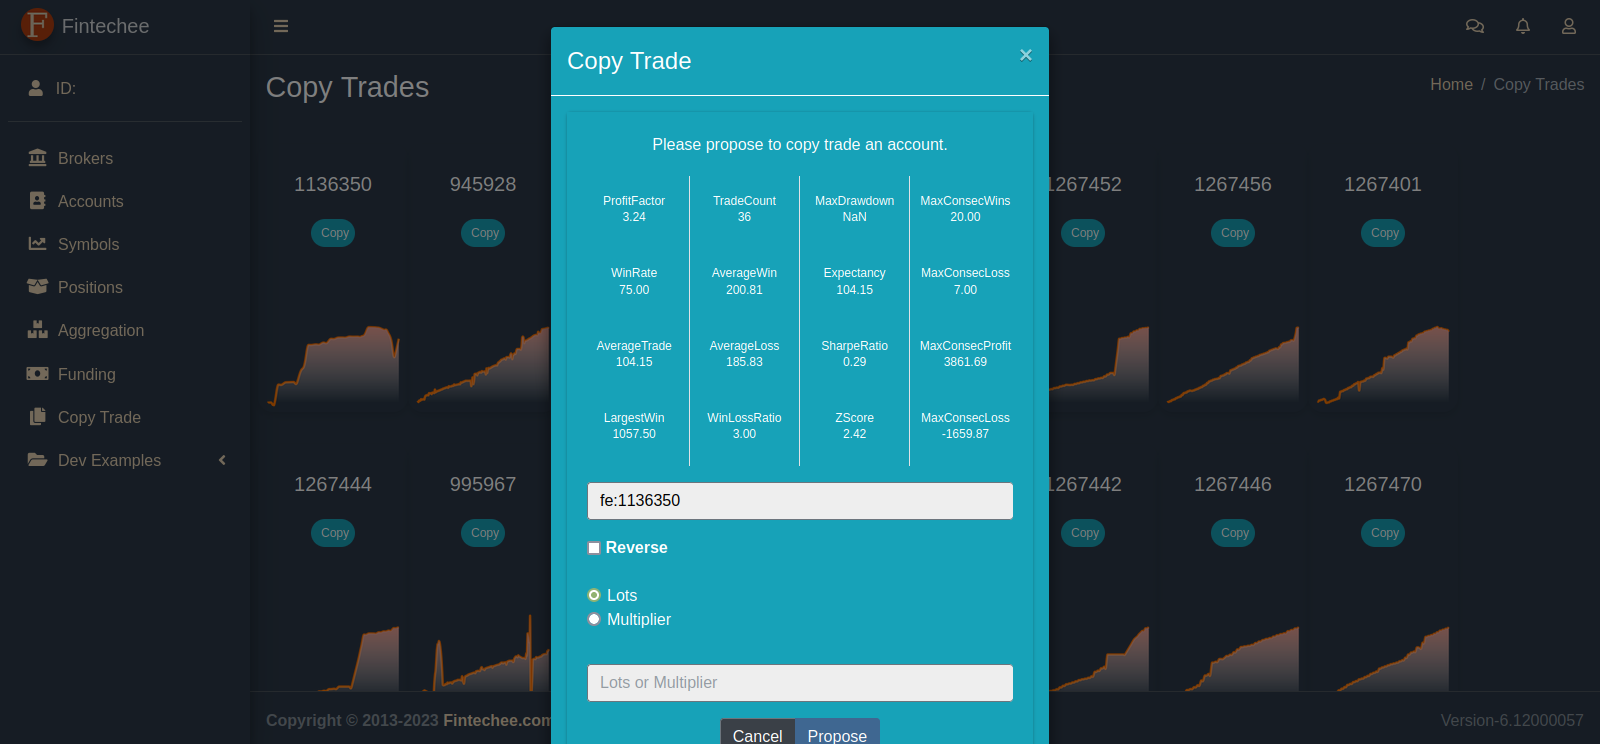
One of the multiple accounts may be in the investor mode, then you can copy trading by referring to this account’s trading records. “Copy trading” is a kind of Forex trading strategy. In this tutorial of Forex trading, we won’t expand. For more details regarding “Copy trading”, please check our other article: Forex trading strategies.
Sign in to multiple accounts to trade arbitrage.
To trade arbitrage, you should have at least two accounts in the different brokerages. This is one of the requirements for trading arbitrage.
Please note that getting two accounts in the same brokerage doesn’t work. Because you can’t get the difference between the prices if you register in the same broker. Without the difference between the prices, the Ask quote is always greater than the Bid quote and the profit is always lower than zero.
If you meet all the requirements, you can get different data quotes and get the difference between the prices.
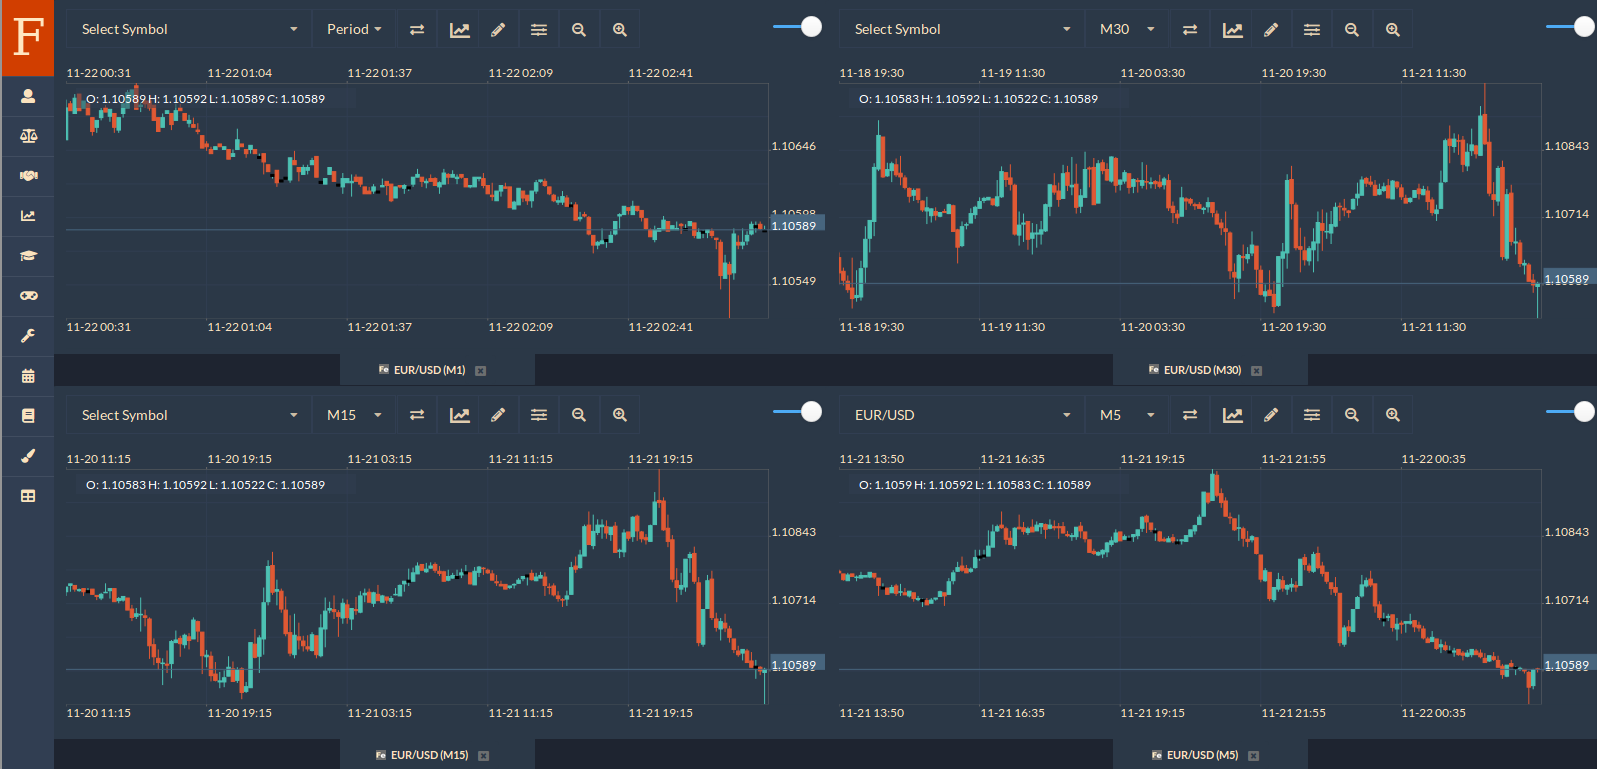
If we check the “Keep me signed in” option, we don’t need to input the account ID and the password again. After we close the WEB Trader, we can open it again without signing in. We recommend you not check this option when you use the live account because of the browser vulnerabilities. In this tutorial for Forex trading, all the operations are done under the names of demo accounts, no need to worry about the security problem.
“Trade arbitrage” is a kind of Forex trading strategy. In this tutorial of Forex trading, we won’t expand. For more details regarding “Trade arbitrage”, please check our other article: Forex trading strategies.
Liquidity Providers
We have cooperated with more than 20 liquidity providers. And We have done testing the connectivities with all of them. You can have the chance to sign up for different brokerages. Individual traders get benefit from trading arbitrage, institutional brokers get benefit from “Price Aggregator”.
There are many different features between the liquidity providers that we have cooperated with. In this tutorial of Forex trading, we won’t expand. For more details regarding liquidity providers, please check our other article: Liquidity Providers.

“Price Aggregator” is a kind of Forex trading strategy and a feature that our WEB Trader implements. We cooperate with more than 20 liquidity providers, so we can aggregate their quotes and get the lowest spreads. In this tutorial of Forex trading, we won’t expand. For more details regarding “Price Aggregator”, please check our other article: Price Aggregator.
Expert Advisor(Trading Robots)
If you want to trade automatically, please click the “Doctor Cap” icon, a panel will show up. The samples of expert advisors are listed in the panel. Every sample shows up as a row with the “Play” icon, the “Stop” icon, the “Edit” icon.
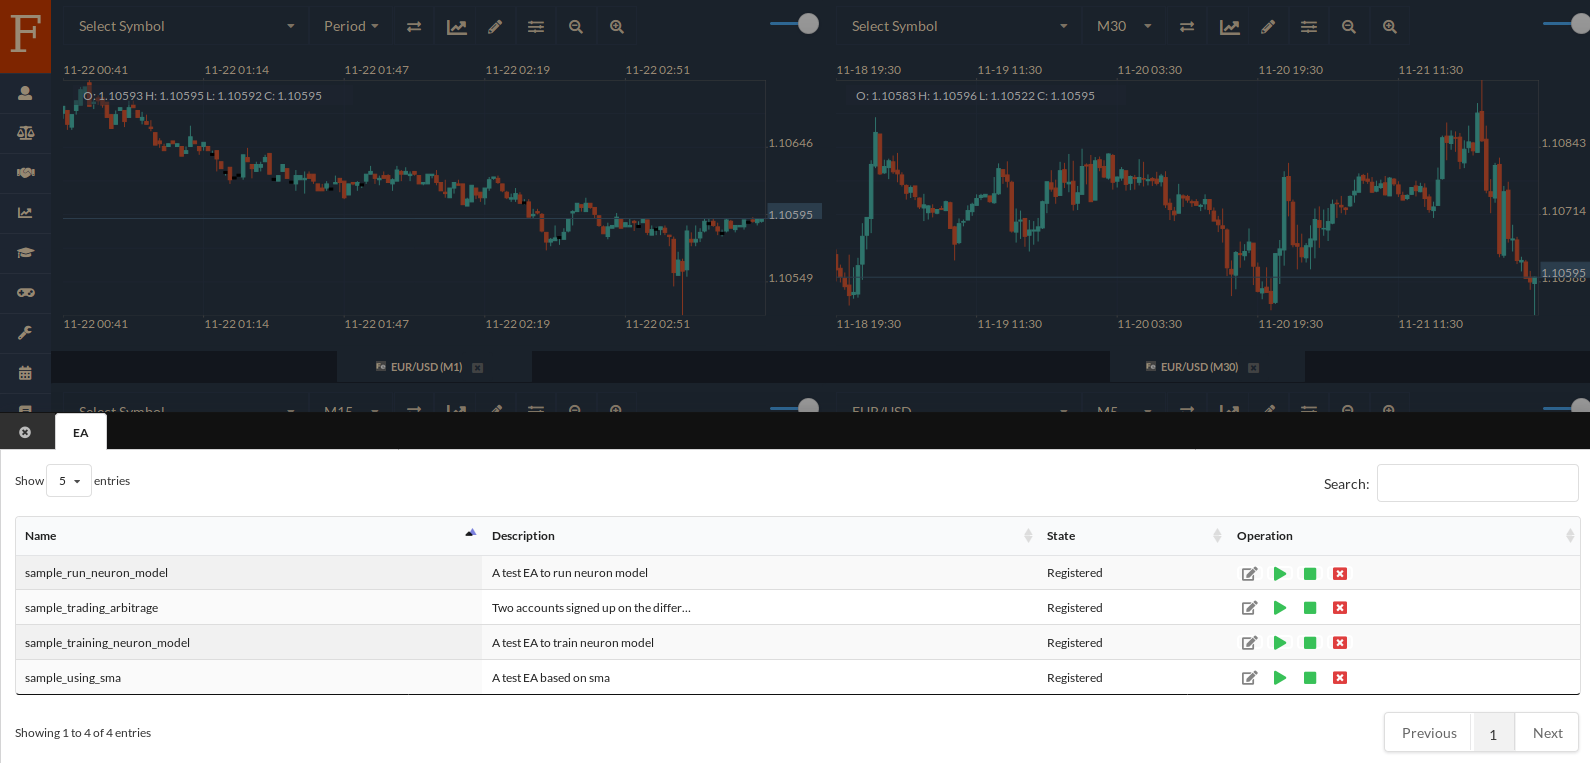
The sample regarding trading arbitrage is the one named “sample_trading_arbitrage”. If you want to trade arbitrage, please click the “Play” icon and start running the specific EA. We provide source codes here. If you want to check the program logic, please click the “Edit” icon and then a dialog with the source code of the specific sample shows up. You can check the source code and learn how the logic works.
“Expert Advisor” is a kind of Forex trading strategy and a feature that our WEB Trader implements. In this tutorial of Forex trading, we won’t expand. For more details regarding “Expert Advisor”, please check our other articles: Expert Advisor, Expert Advisor Studio.
Economy Calendar
You can check the economy calendar by clicking this “Calendar” icon. The economy calendar panel will show up. It’s a useful widget to check the present economy events in real-time.
Technical Indicators
There is a “Chart” icon that shows up on the left menu bar, meantime there is a “Chart” icon that shows up on the top toolbar attaching with every chart. Please note that their functions are different.
If you click the “Chart” icon(on the menu bar on the left), an indicator list will show up. Every row with the “Edit” icon, the “Remove” icon represents an indicator. You can check and edit the program logic by clicking the “Edit” icon.
The “Chart” icon(on the menu bar on the left) shows what kind of indicator is installed on the WEB Trader.
The “Chart” icon(on the top toolbar attaching with every chart) can help you add an indicator to the specific chart. If you click this icon, a dropdown list will show up. If you click the “Add an indicator” option, a dialog will show up.
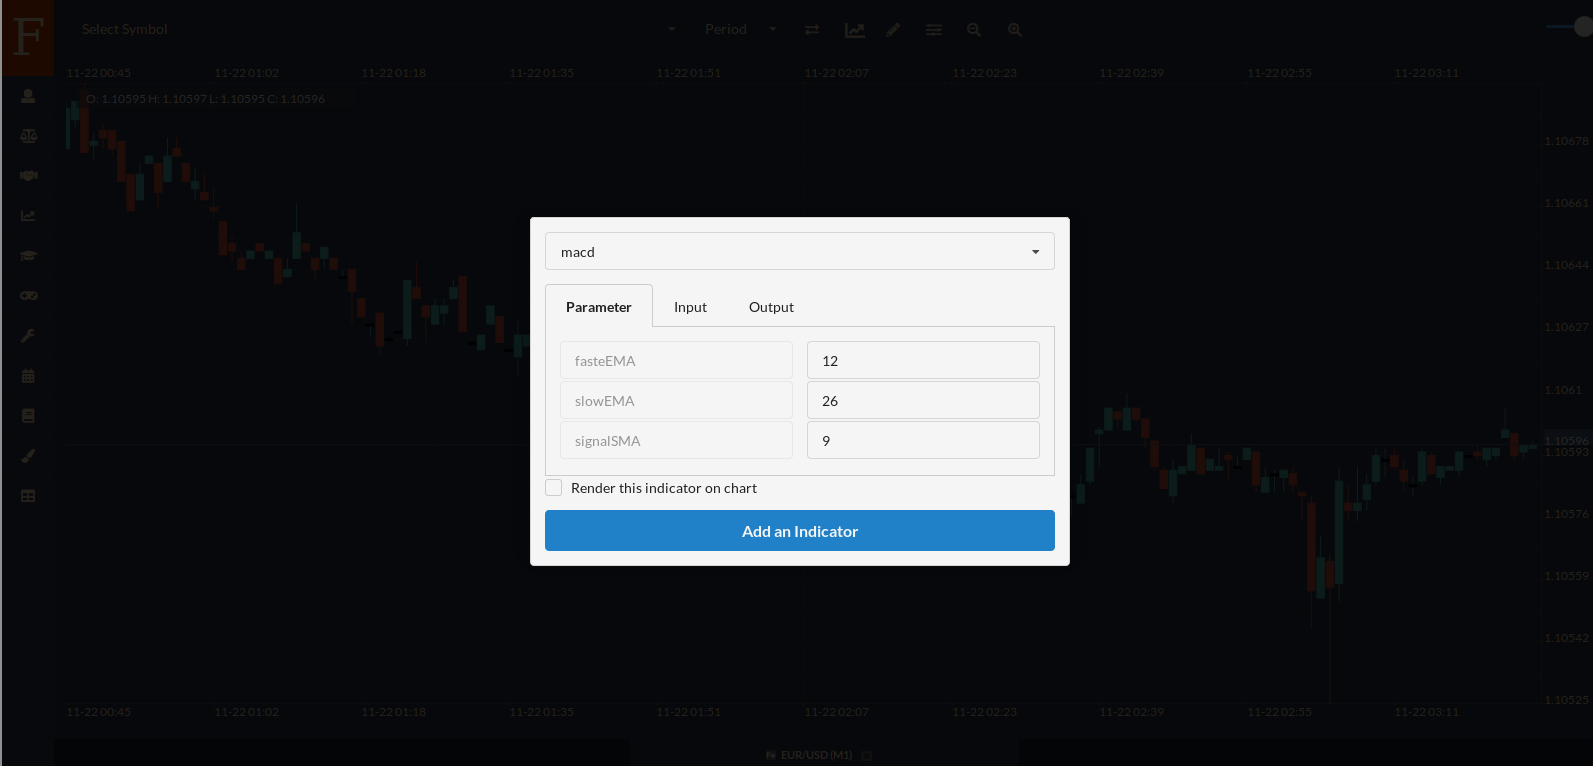
In the dialog, the installed indicators are listed in the dropdown list. They are built-in indicators, you needn’t write any source code.
Let’s choose “MACD” to add to the chart as an example in this tutorial of Forex trading. You can keep the parameters default. If you want to set a specific value, please edit the specific value in the corresponding form field. Then click the “Add an indicator” button on the dialog. Now an indicator is rendered and added to the chart.
If you want to modify the parameters that you inputted previously, please click the “Chart” icon(on the top toolbar attaching with every chart) again. Then you will find a “MACD” menu item listed in the dropdown list. Then choose “Edit”. If we edit the first parameter to 20, you can find the chart rendered differently.
“Technical Indicator” is a kind of Forex trading strategy and a feature that our WEB Trader implements. In this tutorial of Forex trading, we won’t expand. For more details regarding “Technical Indicator”, please check our other tutorial: Custom Indicator.
Charts
You can add Fibonacci lines to the specific chart. The chart can be zoomed in or be zoomed out.
You can choose other instruments’ candlesticks to show up on the charts. Please click the button named “More Symbols” on the sidebar appearing on the right. A dialogue will show up, many instruments are listed in the dialog.
If you want to show GBP/USD’s chart, please check the corresponding row representing GBP/USD. If you want to show USD/JPY, please check the corresponding row representing USD/JPY. Then the two instruments will be added to the sidebar appearing on the right.
If you want to add a chart with the streaming quotes of GBP/USD, please expand the row with the real-time data quotes of GBP/USD. Then move the mouse over the “GBP/USD” title, the tooltip “Chart Window” will show up. Then click the title representing GBP/USD, a new chart with the streaming quotes of GBP/USD will be added to the charts panel.
If you want to change the time frame, please click the “Time Frame” dropdown list and choose the specific time frame that you want. For example in this tutorial of Forex trading, if you want to change the time frame to H1, please choose H1 and then click the button right to the “Time Frame” dropdown list. Then the chart is rendered by the H1 time frame.
We implemented many useful features in the chart system. In this tutorial of Forex trading, we won’t expand. Please check our social media Fintechee’s Twitter or subscribe to our newsletter to know the latest updates.
Send Orders
Now let’s see how to send orders. For example in this tutorial of Forex trading, if we want to buy GBP/USD at the rate of the market price, please click the button on the appearing sidebar on the right.
Before you send an order, you need to determine the volume, which is called “Lots” in another way. For example in this tutorial of Forex trading, if you want to send a 0.1 Lots order to go long on GBP/USD, please set 0.1 in the field on the top right of the screen and then click the “Buy” button. An order will be sent to the server. Because the order type is “Market Order”, a trade will be opened instantly. Our trading platform supports hedging. If you send a 0.1 Lots order to go short on GBP/USD, the two opened trades will not be hedged. You can see both of them appearing in the trading records list.
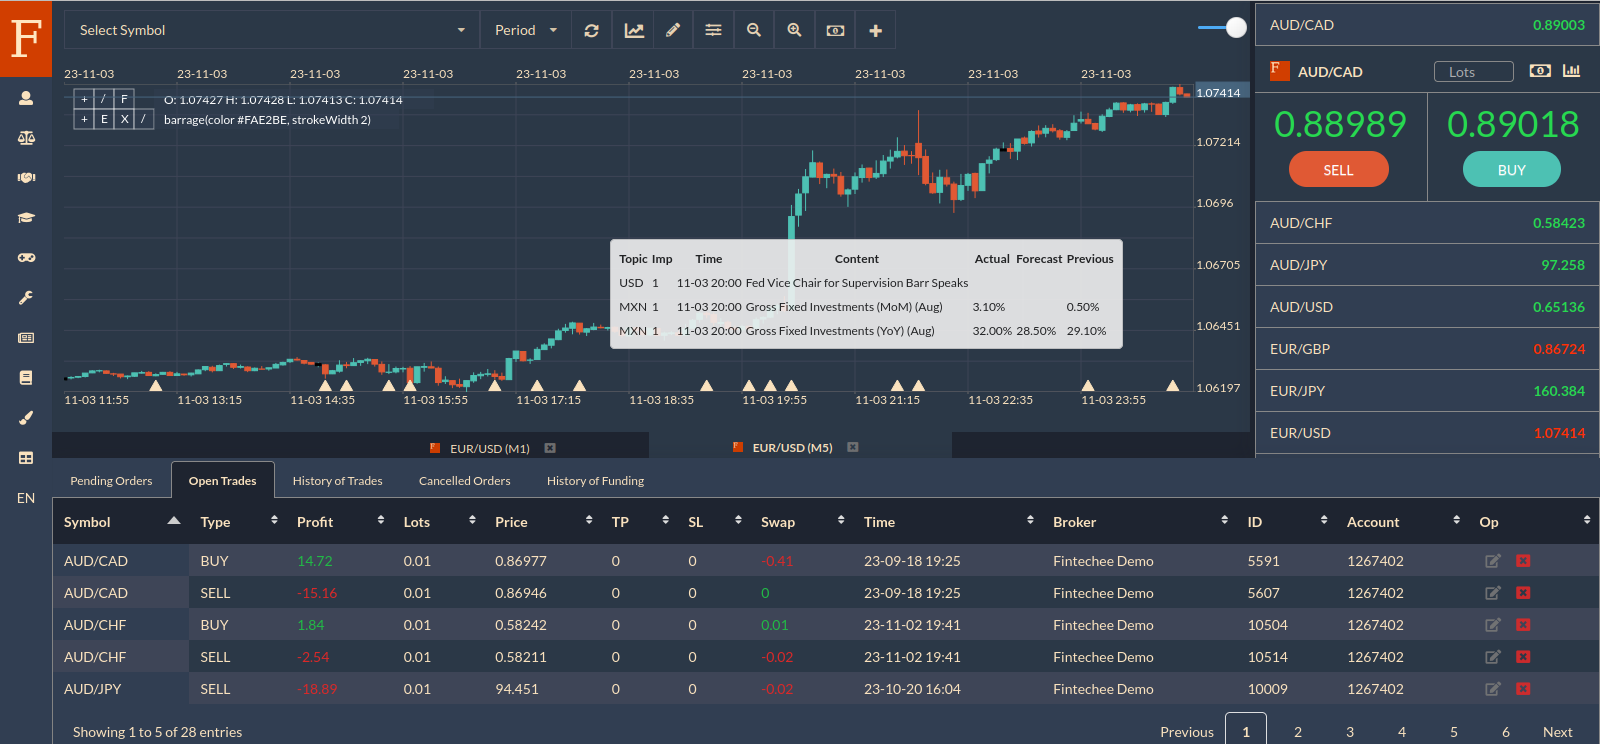
You can check pending orders, open trades, history of trades, canceled orders, history of funding. Please click the “Shake hands” icon. A trading records list will show up. It’s attached by 5 tabs representing “Pending Orders”, “Open Trades”, “History of Trades”, “Canceled Orders”, “History of Funding”. If you click the second tab, your open trades will show up.
In our example in this tutorial of Forex trading, currently, we have two trades opened, both are appearing in the list of open trades and they stay the state not hedged.
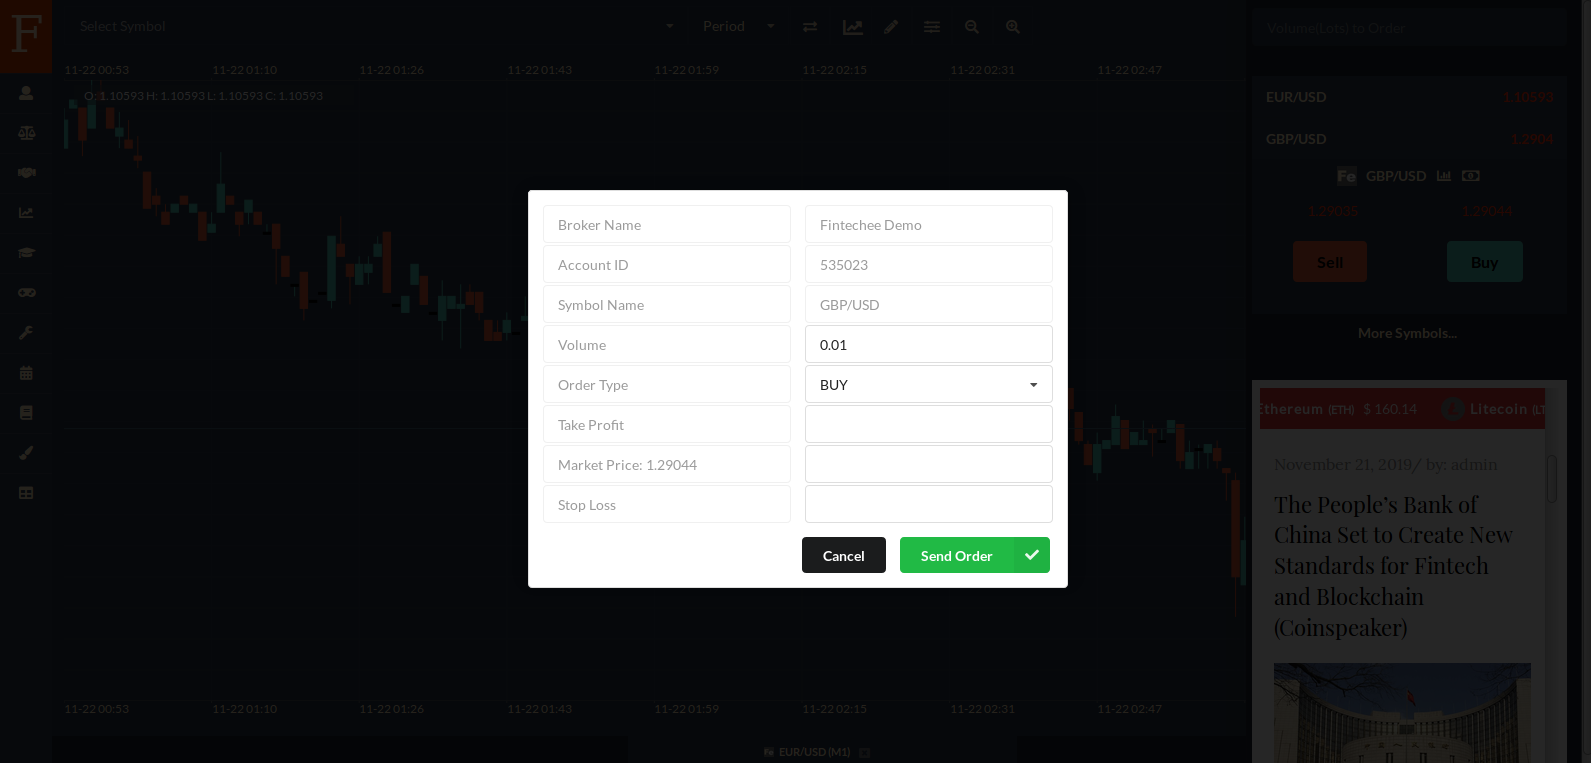
If you want to send a pending order to go long on GBP/USD, please click the “Money” icon in the corresponding expansion representing GBP/USD on the appearing sidebar on the right. The “Send order” dialog will show up. If you choose the order type as “Limit” or “Stop”, the order will be sent as a pending order.
For example in this tutorial of Forex trading, if you choose “Buy Limit”, you need to set the price that you want to buy at the rate of. If you set price by 1.311, set “Take-profit” by 1.3111, that means, if the market price touched 1.311, this order would be executed, after the execution, if the market price moved to 1.3111, then the trade would be closed, and you would get profit.
If you set a “Stop-loss” value, and if the market moved toward the reverse direction, you would get a loss. These two options(“Take-profit” and “Stop-loss”) are not required to set in a pending order. Only the price field of the form is required to set while sending a pending order. You need to set the price that you want to trade at the rate of.
After sending a pending order, you can see it on the chart. The solid line stands for the price of “Buy/Sell Limit”. The blue dashed line is a “Take-profit” line and the red dashed line stands for a “Stop-loss” line.
The goal of this tutorial for Forex trading is to introduce the basic functions of our WEB Trader. If you have any questions, please contact us.


